 AgedWell Journal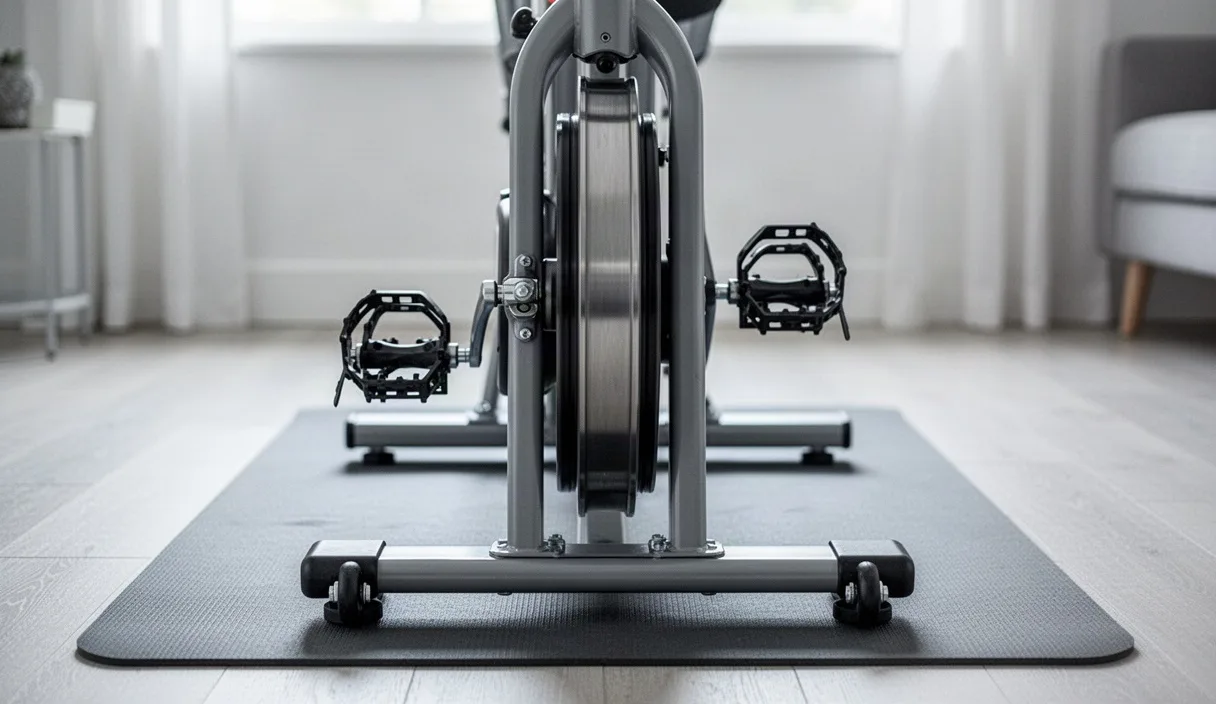

Knee joint mobility pain does not always require surgical intervention. While joint degeneration affects millions of older adults, conservative management protocols can reduce daily discomfort, maintain joint mobility, and protect functional independence. Structural cartilage loss cannot be reversed overnight, but altering joint mechanics and strengthening periarticular tissue shields sensitive bone surfaces from excessive impact.
Every non-surgical plan relies on consistent, low-stress loading rather than complete rest. Inactivity starves the joint capsule of synovial fluid, creating a cycle of stiffness, weakness, and worsening pain. By systematically targeting muscle tone, movement patterns, and mechanical support, you can protect the knee joint and manage chronic symptoms safely under the supervision of a physician or physical therapist.
joint mobility progression: cartilage thinning and friction
Articular cartilage is an avascular, slick tissue that caps the ends of the femur and tibia. In a healthy joint, this tissue measures between 2 and 4 millimeters in thickness, providing a near-frictionless glide during flexion and extension. joint mobility begins when microscopic fissures develop in this matrix, driven by repetitive mechanical stress, prior injury, or metabolic inflammation. Because cartilage lacks blood vessels, it repairs slowly, causing the layer to thin over time.
As cartilage wears thin, the protective cushion diminishes. The joint space narrows, exposing subchondral bone beneath. The underlying bone responds to this altered loading by thickening and producing bone spurs, or osteophytes, at the joint margins. These bony outgrowths restrict movement and can irritate surrounding soft tissue, creating the characteristic grinding sensation known as crepitus. Friction increases significantly inside the joint capsule, leading to localized inflammation of the synovial lining.
Progression occurs across recognizable stages, typically graded using the Kellgren-Lawrence radiographic scale:
- Grade 1 (Doubtful): Minute osteophytes, no definite joint space narrowing. Mild discomfort often occurs after unusually long walks or standing periods.
- Grade 2 (Minimal): Definite osteophytes with possible joint space narrowing. Symptoms include early morning stiffness lasting under 30 minutes.
- Grade 3 (Moderate): Multiple moderate osteophytes, clear joint space reduction, and early subchondral sclerosis. Walking tolerance drops, and stairs trigger sharp aches.
- Grade 4 (Severe): Large osteophytes, marked joint space narrowing, and severe sclerosis with bone-on-bone contact. Pain can occur at rest and during nighttime sleep.
Structural damage seen on an X-ray does not always match daily pain levels. Many individuals with Grade 3 changes report minimal symptoms because strong surrounding muscles absorb impact forces. Managing this condition means focusing on functional joint unloading rather than fixating solely on radiographic images.
The quadriceps connection: shock absorption for knee joints
The quadriceps muscle group serves as the primary shock absorber for the knee. During normal ambulation, the force transmitted through the patellofemoral and tibiofemoral joints reaches 2 to 3 times your body weight with every step. When you descend stairs, this force spikes to roughly 4 to 5 times body weight. Strong, reactive quadriceps absorb this downward kinetic energy through eccentric contraction, sparing the cartilage surfaces from high-velocity impact.
When chronic pain strikes, the nervous system naturally down-regulates muscle activation to prevent perceived damage. This phenomenon, known as arthrogenic muscle inhibition, causes rapid quadriceps atrophy. Weakened quadriceps cannot decelerate the leg properly during the heel-strike phase of walking. Consequently, impact forces bypass the muscle and slam directly into the compromised cartilage and subchondral bone, speeding up tissue breakdown.
Targeting the vastus medialis oblique, the teardrop-shaped muscle on the inner front of the thigh, is critical. This muscle stabilizes the patella within the femoral groove. When it weakens, the kneecap tracks outward, producing uneven pressure across the patellofemoral joint. Rebuilding quadriceps strength dampens peak ground-reaction forces, evening out weight distribution across the joint plateaus.
Strengthening exercises must be selected carefully to prevent flare-ups. High-angle loaded knee extensions can compress the patella painfully against the femur. Non-impact, closed-kinetic-chain drills or isometric holds load the muscle belly without grinding fragile joint surfaces together.
Low-impact aerobic options: recumbent bike vs flat-ground walking
Aerobic exercise prompts the synovial membrane to pump lubricating fluid throughout the joint cavity. This fluid delivers oxygen and nutrients to the remaining chondrocytes while clearing metabolic waste products. Choosing the right aerobic format requires balancing cardiovascular demand against peak joint contact pressures.
The recumbent stationary bicycle offers several advantages over upright walking for moderate to advanced knee joint mobility. Sitting in a bucket seat with back support places the hips and knees in a semi-reclined orientation. This position removes upper-body weight from the lower extremities while maintaining continuous circular motion. Flat-ground walking remains beneficial for bone density and practical mobility, but it generates repetitive ground impacts that some joint mobility joints cannot tolerate during acute flare-ups.
| Factor | Recumbent Stationary Bike | Flat-Ground Walking |
|---|---|---|
| Joint Axial Load | Minimal; body weight supported by wide seat | Moderate; 2 to 3 times body weight per stride |
| Patellofemoral Pressure | Low to moderate; adjustable via seat distance | Variable; increases with uneven terrain or speed |
| Synovial Circulation | Continuous, fluid circular mechanics | Intermittent, pulsed impact mechanics |
| Fall Risk | Extremely low; stable, grounded base | Low to moderate; dependent on balance and path |
| Recommended Cadence / Pace | 60 to 75 RPM at light resistance | 2.5 to 3.2 MPH on level, paved surfaces |
Set up the recumbent bike correctly to avoid pin-point joint stress. Adjust the seat horizontally so that when the pedal is at its furthest point away from you, your knee retains a slight 10 to 15-degree bend. Never lock the knee out at full extension, and avoid setting the seat so close that your knee flexes past 90 degrees at the top of the pedal stroke. Start with 12 to 15 minutes at low resistance, three days per week.
When walking on flat ground, choose asphalt, track surfaces, or level soil over hard concrete. Use a measured, mid-foot strike rather than an aggressive heel-strike to reduce the shock wave traveling up the tibia. Keep sessions to 20 or 30 minutes, splitting the duration into two 15-minute walks if your joint swells after continuous motion.
Isometric straight leg raises for pain-free muscle loading
Isometric contractions generate muscle tension without moving the joint angle. This allows you to load the quadriceps, hip flexors, and core without inducing cartilage shearing or bone-on-bone friction. The straight leg raise remains a gold-standard exercise for knee rehab because it isolates the anterior thigh while keeping the joint locked in a neutral, stable position.
Perform this exercise on a firm mat or a supportive mattress. Lie flat on your back. Bend the unaffected knee to a 90-degree angle, placing that foot flat on the floor to stabilize your pelvis and protect your lower back. Keep the joint mobility leg fully extended straight ahead.
- Ankle dorsiflexion: Pull the toes of the straight leg backward toward your shin. This engages the anterior tibialis and helps lock the knee into stable extension.
- Quadriceps contraction: Tighten the front of your thigh as if pressing the back of your knee firmly into the floor. Verify that your kneecap shifts slightly upward toward your hip.
- Controlled elevation: Keeping the leg completely straight, raise it smoothly until your heel is roughly 8 to 12 inches off the floor. Do not lift the leg higher than the thigh of the bent opposite leg.
- Sustained hold: Hold the leg motionless at this height for 5 to 8 seconds. Maintain continuous, calm breathing; never hold your breath during the isometric hold.
- Controlled descent: Lower the leg slowly back down to the starting surface over a count of 3 seconds. Let the muscle relax for 2 seconds before beginning the next repetition.
Aim for 2 to 3 sets of 8 to 12 repetitions per leg, resting 60 seconds between sets. If you feel pinching or pulling in your lower back, place a small rolled towel under your lumbar curve or perform the movement with your elbows propping your upper torso up into a semi-seated position. Once 12 repetitions feel manageable without pain, add a light ankle weight starting at 1 or 2 pounds.
Mechanical offloading: supportive orthotics and knee sleeves
External supports alter how mechanical forces pass through an joint mobility knee. By shifting weight away from damaged compartments or increasing local sensory feedback, non-invasive gear can improve walking tolerance during daily errands.
Unloader and Hinged Knee Braces
Knee joint mobility frequently concentrates in the medial (inner) compartment of the joint, creating a mild bow-legged alignment. Unloader braces use a rigid frame and dynamic strapping system to apply a gentle corrective force. This three-point leverage system pulls the joint open slightly on the medial side, shifting stress across to the healthier lateral compartment. Patients with unicompartmental joint mobility often report significant pain relief during weight-bearing activities when fitted properly by an orthotist.
Neoprene and Elastic Knee Sleeves
A simple compression sleeve does not offer rigid structural offloading, but it aids functional joint management. Medical-grade compression (typically 15 to 25 mmHg) improves proprioception, which is your brain's awareness of joint position in space. This heightened sensory input helps the quadriceps and hamstrings fire with better coordination, preventing micro-instability and slips. Furthermore, the thick material retains therapeutic warmth, keeping synovial fluid less viscous and easing stiffness during cold weather.
Custom and Over-the-Counter Foot Orthotics
Foot biomechanics directly dictate knee mechanics. Excessive foot pronation (flat feet) causes the tibia to rotate inward, which increases medial knee compression. A semi-rigid arch support corrects this inward collapse, promoting neutral tibial tracking. Conversely, for isolated medial compartment wear, a physical therapist may recommend a lateral heel wedge of 3 to 5 millimeters. This subtle tilt changes the ground-reaction force vector, reducing the advective load pulling on the inner knee.
Heat vs ice: application timing for morning stiffness vs evening swelling
Thermal therapies are simple, non-pharmacological tools for symptom control. However, applying the wrong temperature at the wrong time can worsen discomfort. Knowing when to use heat versus ice depends directly on whether you are dealing with joint stiffness or inflammatory effusion.
Moist Heat for Morning Stiffness and Pre-Activity Warmup
joint mobility joints typically stiffen after hours of immobility. Synovial fluid thickens overnight, and periarticular tendons lose compliance. Heat acts as a vasodilator, widening blood vessels to increase localized circulation, relax guarding muscles, and raise tissue elasticity.
- When to apply: First thing in the morning before moving around, or 10 to 15 minutes prior to your home exercise routine.
- Format: Use a moist heating pack, a warm damp towel wrapped in plastic, or a warm shower (around 100 to 104 degrees Fahrenheit). Moist heat penetrates deeper into periarticular tissues than dry electric pads.
- Duration: Apply for 15 to 20 minutes. Place a thin towel barrier between the heat source and your skin to avoid burns. Stop immediately if the knee feels throbbing or feverish.
Cold Therapy for Post-Activity Soreness and Evening Swelling
Walking, gardening, or prolonged standing can trigger inflammatory flares by late afternoon. Friction produces microtrauma inside the joint capsule, leading to increased fluid accumulation (effusion) and dull, persistent throbbing. Cold acts as a vasoconstrictor, reducing blood flow to quiet inflammatory pathways and slow down pain-signal conduction along nerve fibers.
- When to apply: Immediately after physical exertion, or at the end of the day if the joint feels hot, looks puffy, or throbs at rest.
- Format: A bag of crushed ice, a gel ice pack, or a bag of frozen peas. These mold around the contours of the patella far better than rigid blocks.
- Duration: Apply for 15 minutes at a time. Always wrap the pack in a damp tea towel; never place bare ice directly onto thin skin. Allow the joint to return to room temperature for at least 45 minutes before considering another cold application.
Common mistakes to avoid
Small missteps in daily management can derail progress and trigger acute flare-ups. Watch out for these frequent errors:
- Assuming rest support joint mobility: Sitting on the couch for days weakens the muscles that stabilize the knee. Inactivity causes the joint to lose range of motion, accelerating functional decline.
- Pushing through sharp, stabbing pain: Dull muscular fatigue is acceptable; sharp, catching, or sudden hot pain is not. Sharp pain signals direct structural irritation. Stop the movement immediately.
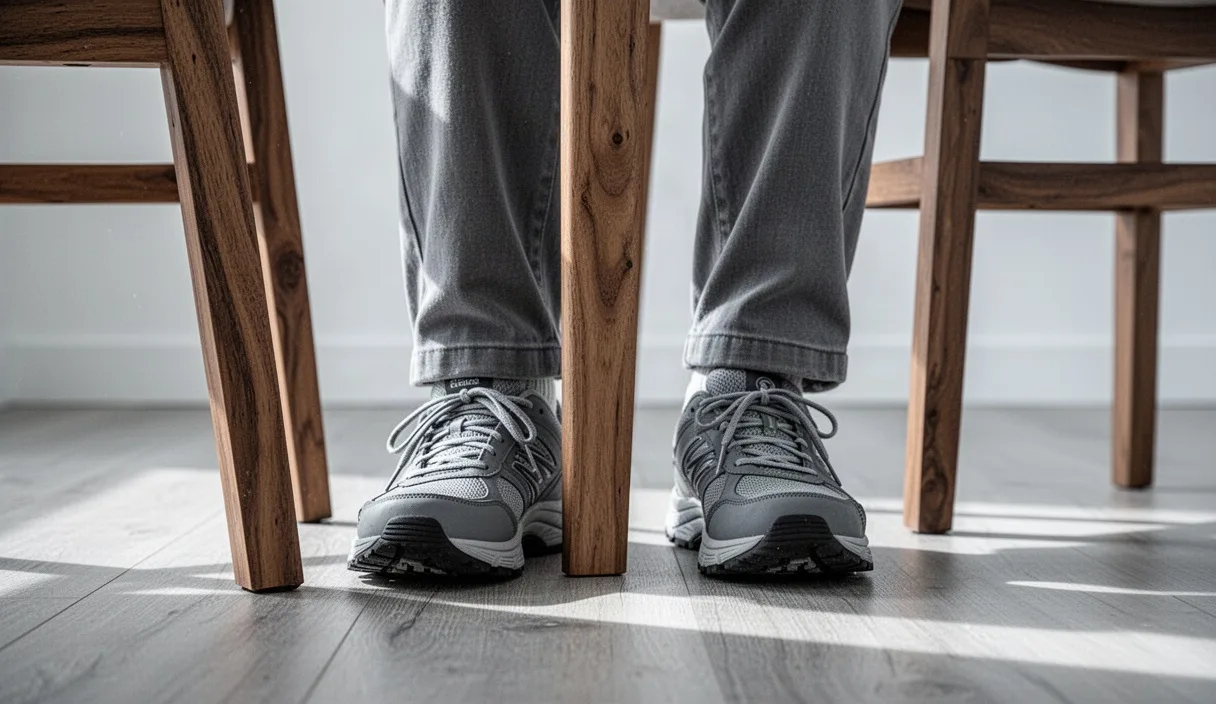
- Ignoring footwear tread and cushioning: Worn-out shoe soles lose their heel cushioning and let the foot roll excessively. Replace daily walking shoes every 350 to 500 miles, or whenever the tread shows uneven heel wear.
- Relying exclusively on braces: Wearing a tight brace continuously throughout the day can cause muscle dependency and localized weakness. Use structural braces during higher-demand tasks, like long walks or yard work, but remove them during seated rest and basic home tasks.
- Skipping hip and calf maintenance: The knee sits trapped between the hip and ankle. Tight calf muscles limit ankle dorsiflexion, forcing the knee to hyperextend. Weak hip abductors cause the thigh to drop inward, aggravating inner knee joints.
Practical next steps for daily joint care
Managing knee joint mobility is an active, ongoing process. Start by auditing your daily physical routine. Look closely at your footwear, your daily step count, and any activities that consistently trigger flare-ups 24 hours later. Consistency beats intensity when dealing with joint mobility joints.
Pick one low-impact movement option to implement this week. If you have access to a recumbent bike, try three 15-minute sessions spaced across the week at low resistance. Introduce two sets of isometric straight leg raises every other day, focusing on deliberate muscle tension rather than speed. Apply moist heat for 15 minutes before you do these exercises to loosen the joint capsule.
Schedule an evaluation with a licensed physical therapist or an orthopedic physician. A professional assessment can pinpoint whether your pain stems from medial, lateral, or patellofemoral wear. They can prescribe tailored offloading braces, evaluate your gait mechanics, and ensure your strengthening drills match your current joint stage safely.